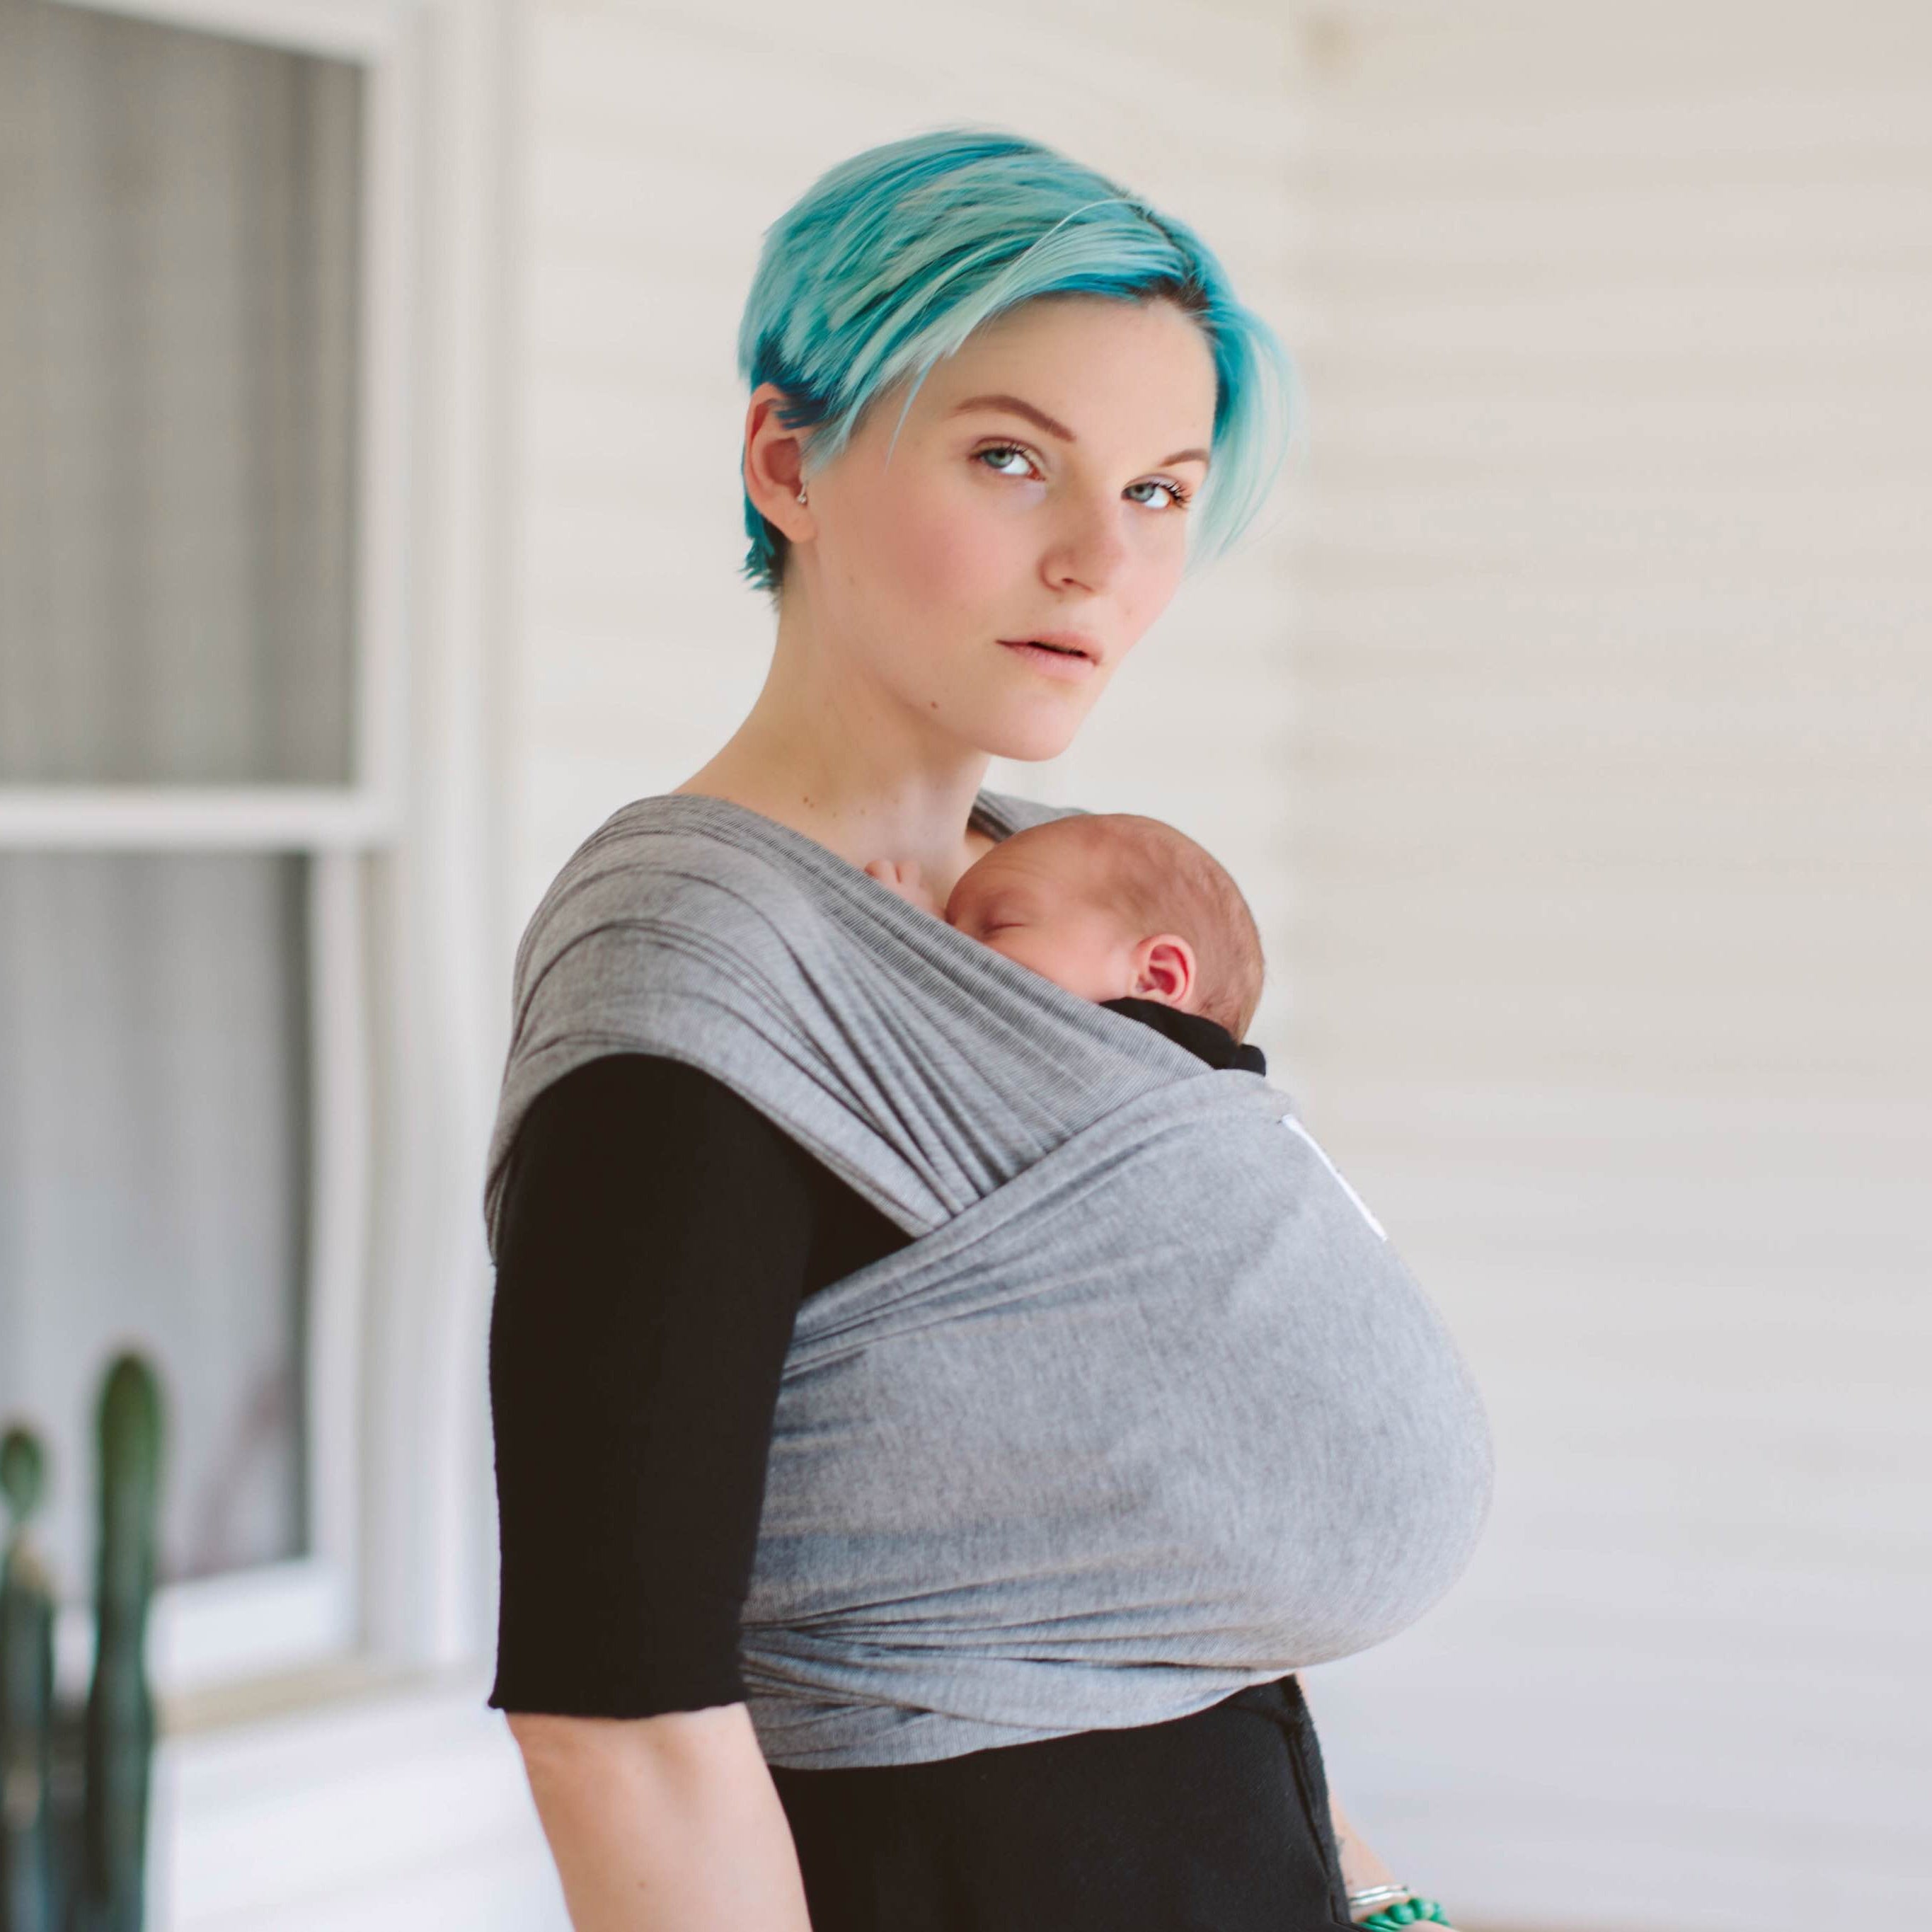
Babywearing using the Beluga Wrap is easy.
No, truly!
It may seem impossible that a breathable, stretchy piece of fabric can hold your baby safely. Maybe it even seems a little like magic. But with a little help from our easy to follow pictorials, it’ll feel as natural as tying your shoes. You’ll be holding your baby hands-free in no time.
Here are my quick and simple instructions for using your Beluga Baby wrap.
Step 1: Position your wrap.
Find the Beluga Baby tag in the middle of the wrap and place it across your chest, tag facing outwards. Make sure you’re starting around your bust, not your waist.

Step 2: Bring the wrap behind you, make an X, and bring it over your shoulders.
Bring the two ends of the wrap behind you. You are going to create an "X" across your back before bringing the panels up and over your shoulders. Try to keep the fabric flat so it doesn’t twist. Make sure the fabric is snug against you, but it shouldn’t feel constricting. Keep the fabric wide over the shoulders for comfort, kind of like a shawl.


Fit Tip 1: This is a good time to make sure your stretchy Beluga Baby wrap is tight enough so baby stays up at kissable height once they’re in. To do this, you take one shoulder panel and, using both hands (one on either seam), lift it up and forward, removing any slack that might be in the wrap. Do the same to the otherside.

You can also watch this handy video as well to show you how to tighten your wrap.
Step Three: Make an "X" in the front.
Gather both panels into your hand in a ball, then pull them through the panel with the label. Pull them out the bottom, making sure not to lose any of the snug-ness you’ve created. Then, cross them into an X. You’ve now created an X on your back, and an X on your front. Bring the two ends behind you.


Fit Tip:At this point, you want all the fabric to be as flat against you as possible, and snug, but not uncomfortably so. You can take this moment to pull the shoulder panels evenly across your shoulders and upper arm to make sure your baby’s weight will be evenly distributed for a near weightless carry.
Step Four: Secure your wrap.
Once you have brought the panels behind you, you can secure the wrap with a double-knot, or bring them back to the front if you have extra length. Wherever you decide to tie it, be sure to double-knot.


Now, let’s put your baby IN the wrap!
Note: Wearing your baby “legs-out” from birth is recommended. However, some babies are happier with their legs in for the first 6-8 weeks of their life. Watch our “legs-in” video tutorial here.
Step Five: Prepare the wrap.
Pull the panel with the label down. You’ll be using that panel last. Identify the wrap panel lying closest to your body. This is the side you’ll put baby in first.

Step Six: Put your baby in the wrap.
Place your baby on the opposite shoulder. Lean back a little so baby is supported. Grasp the panel closest to your body and bring it under baby’s leg, letting the strap rest at the back of their knee.

Then, spread the fabric all the wrap from one knee pit to the other, trying to create an “M” shape where your baby’s knees are slightly above their bum.


Step Seven: Secure your baby with the label panel.
Grab the front panel with the Beluga Baby tag on it, take it over each leg, and then up your baby’s back to the bottom of their neck. They should now be snug, secure, and cozy.

Fit Tip:You can take one of the side panels and tuck it gently over your the back of your baby's head if they need some neck support.

You’re done! Good job! Now go enjoy your hands-free babywearing experience.

You can also watch this handy video how to place your baby in the Beluga Wrap.
https://www.youtube.com/watch?v=zFhR_JfAoEU
Always remember to follow safe babywearing protocol, T.I.C.K.S.:
T - Tight – baby wrap must be tied tightly and securely at all times.
I - In view at all times – baby must never be hidden from your view by the wrap.
C - Close enough to kiss – you should be able to kiss your baby's head without straining.
K - Keep chin off chest – a good check is to see if you can fit two fingers under their chin.
S - Supported back – baby’s back must be straight and secure.
To watch our video tutorials, including how to nurse in your Beluga Wrap, click here.
To shop our collection, click here.
For some of the benefits of babywearing, click here.


Jackie
January 18, 2023
Can you forward face in a beluga wrap for baby?